Content Timeline
Build vertical timelines with optional scroll animation that adds styles as the user scrolls. Supports use with repeaters to feature dynamic data from posts or pages or ACF repeaters or Metabox.

Overview
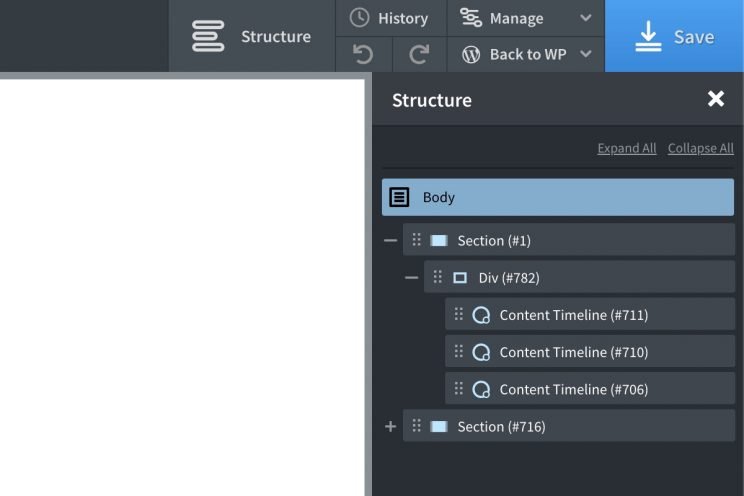
The content timeline component acts as an individual item on a timeline. You can use them with static content by adding a container and placing a few of these components inside one after the other.

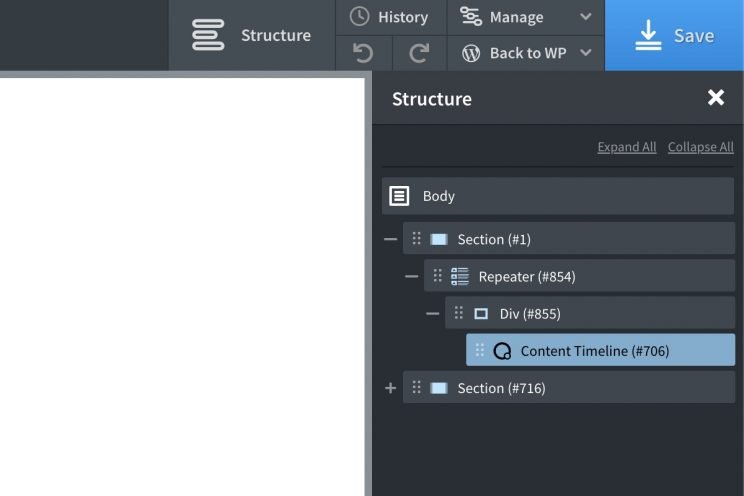
Or use inside of a repeater, meaning each item on the overall timeline is then dynamically generated by the repeater. This would then allow you to use dynamic content to populate the content inside the timeline. (Note – we recommend working with the repeater in ‘single mode’ when building the timeline and populating with dynamic content)

The Structure
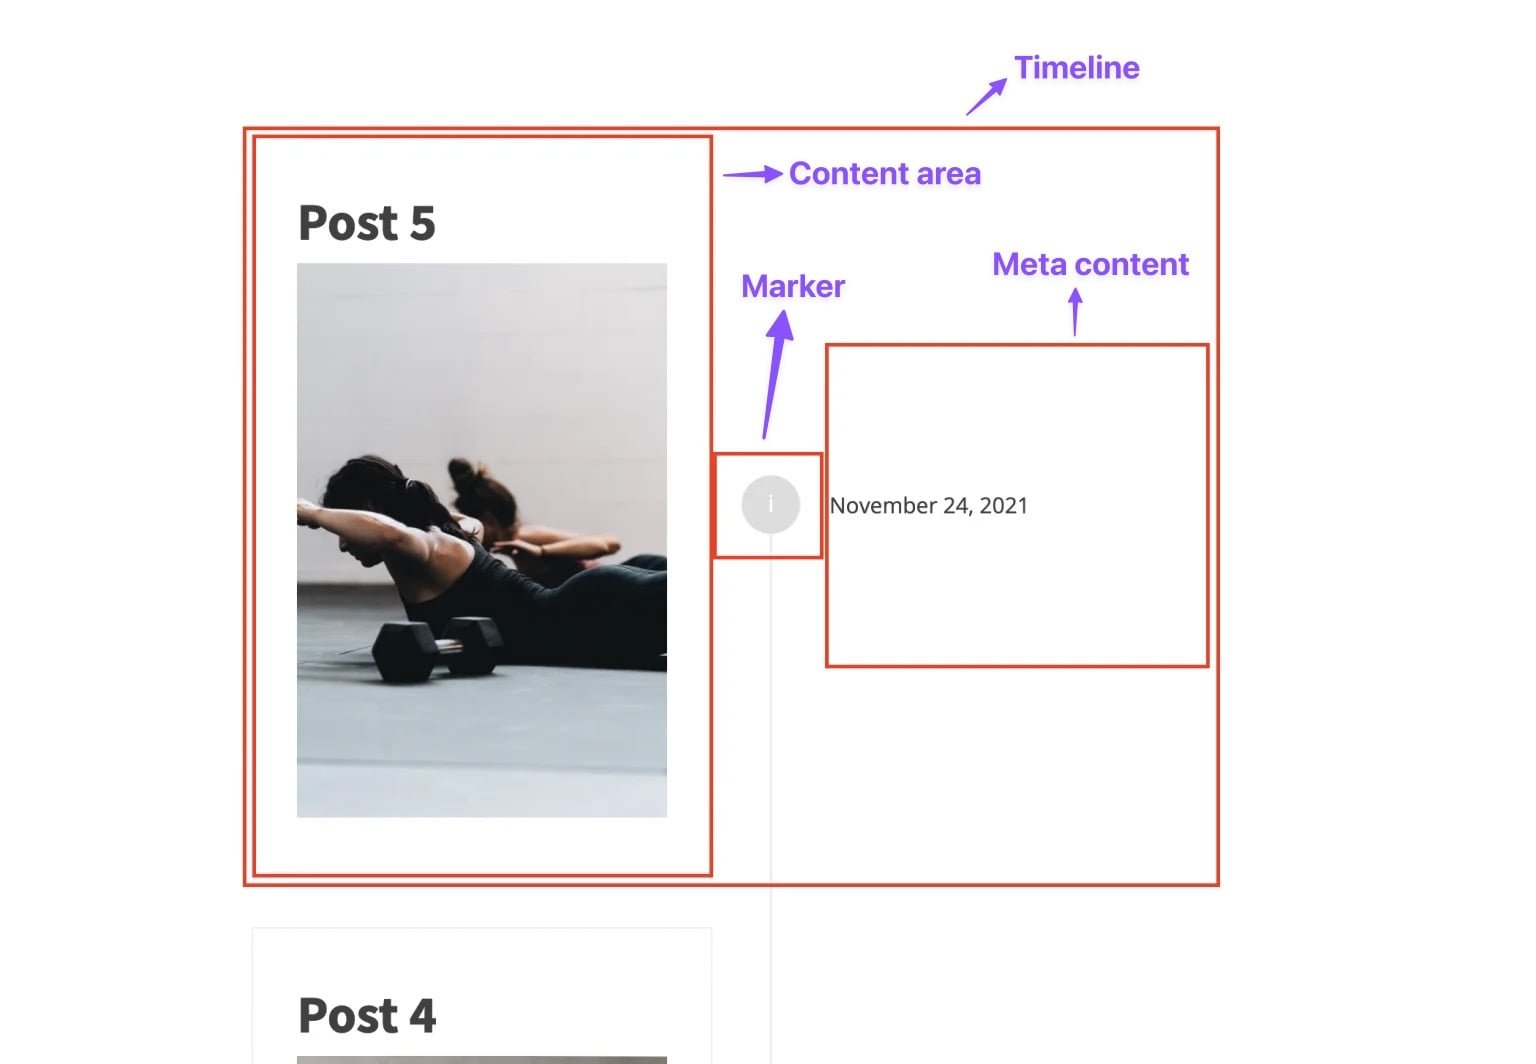
Inside of each timeline component is four parts – The content area, the marker, meta content, and the actual timeline line itself (see image below).

To add content to the content area (on the left in the image above) you can simply add new elements inside. The meta content is populated by the text field inside of settings, which also supports dynamic data.
The marker can be either an icon, custom text or a counter.
Timeline Layout – The inner part of the timeline item is a flex layout, so changing this from row to reverse will place the content from the right of the marker to the left, and the meta content on the opposite side.
Meta content align – Here you can adjust the text-align for the content inside of the meta content div. This is useful if you’re using row-reverse for the timeline layout and need the meta content to remain close to the marker.
Add active classes on scroll – Enable if you wish to apply scroll animations. As the user scrolls the items inside the timeline, (as well as the line itself) will change style. The content, marker, meta content and the timeline line itself has style options to change the colours as they pass the center of the viewport.
Style controls – Visit each of the tabs for individual style controls for each part of the timeline, both regular styles and active styles if using the scroll animation option.
Alternating Layout
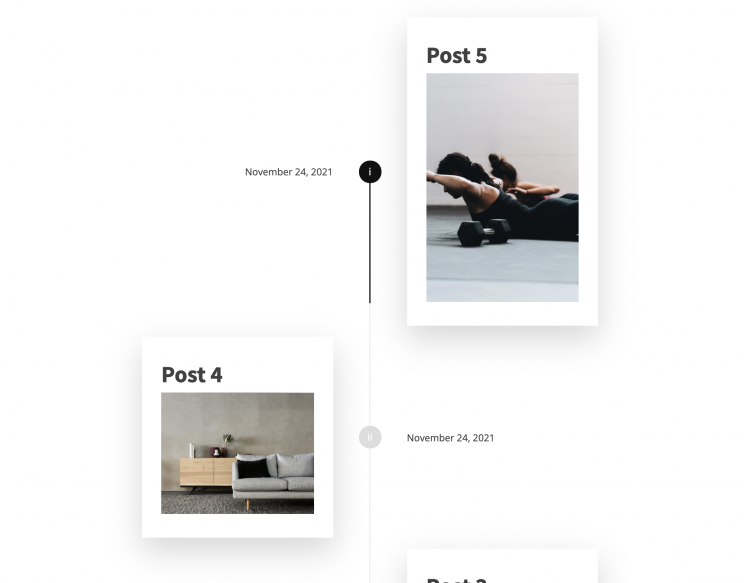
A common timeline layout is having it alternating so the content starts on the left or right and then alternates with each element in the timeline.
To ensure the markers and the timeline line are correctly positioned, if you’re creating an alternating layout you’ll need to make sure that both the timeline content and the meta content widths are set at exactly 50% (it could also be left blank as 50% is the default). If you set it differently, the markers won’t be aligned. Only change the widths where the content is all on the same side, not alternating.
It’s likely for smaller screen sizes you’ll need to change the layout from alternating to everything on one side in order for the content to better fit, when the content is all on the same side the widths can be changed and the markers will always be aligned.
Using with Repeaters
If using repeaters, there’s a couple of important things to note.
The first is that because of the way the repeater will keep refreshing to fetch dynamic data, it’s actually a cleaner workflow to build the timeline first, add in your content and then place it inside of a repeater. If working inside of a repeater directly, you may need to click ‘apply params’ to refresh the component when changing content.
With a repeater, any style settings you change to one timeline component is obviously going to add to them all. This is ideal for the most part unless you’re trying to do an alternating layout with the content shifting from left to right. In this case, the layout needs to be actually controlled at the repeater level, not inside any individual timeline component. To help with this, and avoid needing custom CSS, we’ve added a custom attribute that can be added to the repeater as a quick way of giving you the alternating layout. Go to repeater > advanced > attributes and add ‘data-alternating’ as the name, and either ‘even’ or ‘odd’ as the value. Then refresh the repeater by clicking ‘apply query params’.
To then change the layout for smaller devices, to have the content all on one side you can just use the flex-direction setting inside of the timeline component itself and adjust the widths to make sure everything fits.
Setting style changes on scroll
If creating a dynamic timeline with a repeater, setting this up is as simple as enabling the ‘Add active classes on scroll’ and then changing the ‘active’ styles inside of the settings.
If creating a static timeline, only the first timeline component needs the ‘Add active classes on scroll’ setting enabled. You’ll also need to give the container (ideally a div) the attribute ‘data-content-timeline’. This will then set things up to have the container div behave as the timeline container. For changing styles both default and active, it’s recommended to use classes so the styles can be shared across all components inside of the timeline.
The line width, color and active color only needs to be changed on the first timeline component.
Marker vertical alignment
From OxyExtras v1.4.7+ the markers don’t always need to be vertically centered in relation to the timeline item. In the ‘marker’ tab the vertical alignment can be set to ‘flex start’, ‘center’ or ‘flex end’ and the timeline scroll functionality has been improved to follow the scroll position of the individual markers, rather than the timeline item as a whole.
Note that if using meta content, you may need to adjust the margin/padding of that content to ensure alignment with the markers (depending on the design and how much content)

Adding custom styles
If you’re wanting to get more creative with the styles that are added to the timeline to create your own custom effects, the class that is added to the timeline elements as they are scrolled to is ‘oxy-content-timeline_active’.
For eg if you wanted to scale down the content area until it’s scrolled to, you could change the scale on the content and then use the active class to bring the scale back to 1.
/* Starting scale */
.oxy-content-timeline_content {
   transform: scale(0.8);
}

/* Scale after scrolling */
.oxy-content-timeline_active .oxy-content-timeline_content {
   transform: scale(1);
}
Support FAQ
With this component having more of a complex structure compared to some others in OxyExtras, there’s more of a learning curve. Here are some answers to questions where you may struggle at first..
Why aren’t my markers aligned – Make sure if you’re building an alternating layout that both the content and meta content are set to 50% (even if there is no meta content) to make sure the markers are all in the center. Here you’re actually setting the flex-basis property, so the 50% will take into account the space for the marker.
My scroll animation isn’t working – First check you’re actually adding active styles, otherwise you wouldn’t see any changes even if the scroll effect is active. If you’re using individual timeline components, not inside of a repeater, make sure you’ve added the attribute ‘data-content-timeline’ to the container div.
I’m not seeing style changes inside of the repeater when in the builder – This is a known bug with the repeater in general – https://github.com/soflyy/oxygen-bugs-and-features/issues/2553 (if this happens note that the changes are being added on the front end)
How do I change X behaviour? – If you want the timeline to do something there isn’t currently a setting for, let us know in a feature request.
How to add more space/width to the marker – The marker width and height can be set directly inside of the settings, use the margin to add space around the marker. The widths of the content and meta content are actually changing the flex-basis property, so they’ll scale automatically to allow room for the marker and it’s margin.