The carousel builder has been designed to accommodate many use cases and as a result, there may be settings or workflows that may not immediately make sense depending on what you’re trying to build.
A common confusion has been in setting the heights and widths with users sometimes running into issues where either the content is overflowing, or elements are being stretched.
The first thing to note is that apart from adding a width (if you want to shrink the carousel viewport to a specific width) there isn’t any need to try to adjust the styles of the carousel itself. It’s all about creating the carousel by styling the cells and choosing how the carousel behaves in the settings. The carousel, on the front end, will then use that information to build the carousel and set it’s height etc dynamically.
Regarding sizing the cells themselves.. there are different ways to go about it depending on the type of carousel you’re building..
Content slider, Testimonials etc
For these types of content carousels, the recommended workflow would be to set a cell width only, either by defining the width as a percentage or another unit, or choosing the number of cells you want visible inside the carousel.
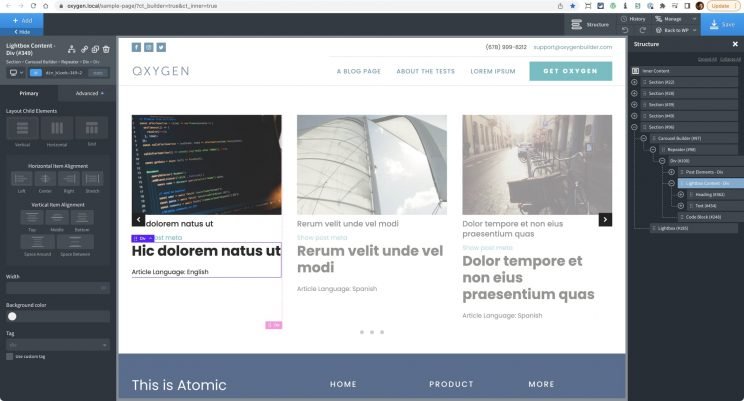
By leaving the height blank, the cells will just naturally fit the content inside and the carousel will take the height of the cell with the largest height. If there’s a noticeable difference in heights between the cells, due to the content, there are two options available..
- Force the carousels to be equal heights. – This will make sure each cell has exactly the same height as the tallest cell. The benefit of this approach is that the carousel will feel stable as it moves. The negative is this is that if there is a significant difference in heights, there will be gap between the content and the page dots.
- Adaptive heights – This will make sure the carousel adjusts it’s overall height based on the currently selected cell. The benefit is there’s never going to be a gap. The negative is that it will be moving the content of the page below it due to the element changing height dynamically.
By not setting a height, you will avoid the same issue that setting a height would cause in lots of other situations in building responsive website – that the content will overflow the fixed height that you’ve set.
Image Galleries
Unlike content sliders, galleries have a unique problem when the images all have different dimensions. How to set a cell width or cell height when you don’t know what the width and heights of the image in the gallery will be? Which to prioritise?
In my opinion, galleries work better in the complete opposite way than standard content.
With responsive sites, we’re generally concerned with width of elements more than heights. We allow the content to flow naturally down the page without concern of the height of the containers or the page itself. (How often have you used the max-height media query compared with the max-width? Probably never.)
But with carousels, the content is being experienced horizontally, not vertically. With image galleries having no vertical content at all, the width of the carousel and the cells are usually not a concern, with the height being the priority and the widths just being automatically sized based on the aspect ratio.
With galleries in the carousel builder,we can choose to do it three different ways;
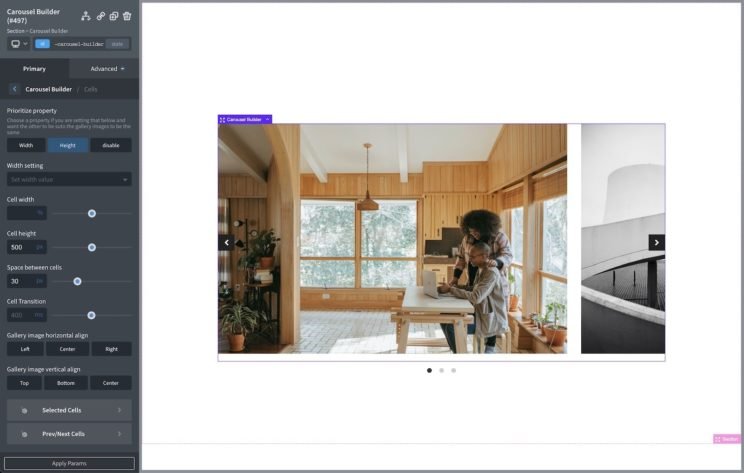
Prioritising the Heights
Here we are setting a height and leaving the widths blank. The result is the carousel will fit neatly into the area, the different aspect ratios of the images isn’t a concern as they will just fit naturally horizontally as the widths are auto.
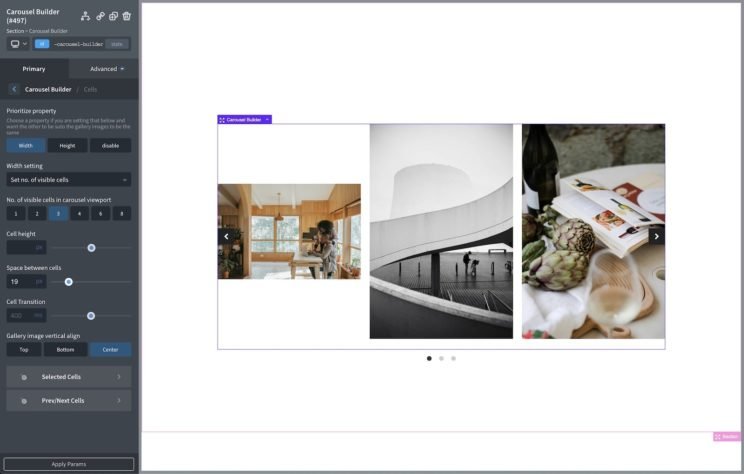
Prioritising the Widths
Here we are choosing the number of cells to be exactly three visible inside the carousel viewport. We can see the images have different dimensions so they are now different heights. The carousel will take the height of the very largest cell. We can set the vertical alignment of the images to be centered, top or bottom.
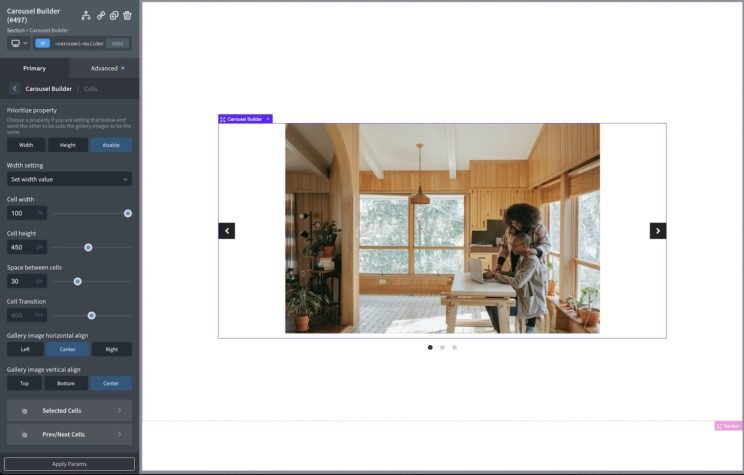
Prioritising disabled.
Sometimes you may need the gallery to fit a very particular height/width to fit into a specific layout. The issue when giving a fixed width and height is that the image could stretch to fit the cell size. There are two options to solve it.. either aligning the image inside of the cell or changing the object-fit.
This first example shows that we’re centering the images inside of the cell. The result is each image will take up the same height, but the width will change within the cell and we center align it. The cells are 100% width, but each image inside will have it’s own width. The benefit here is the original aspect ratio of each image is preserved.
This second example is using the new object-fit setting. If you wish to set both height and width and wish to crop the images to make sure they fit into the entire area.
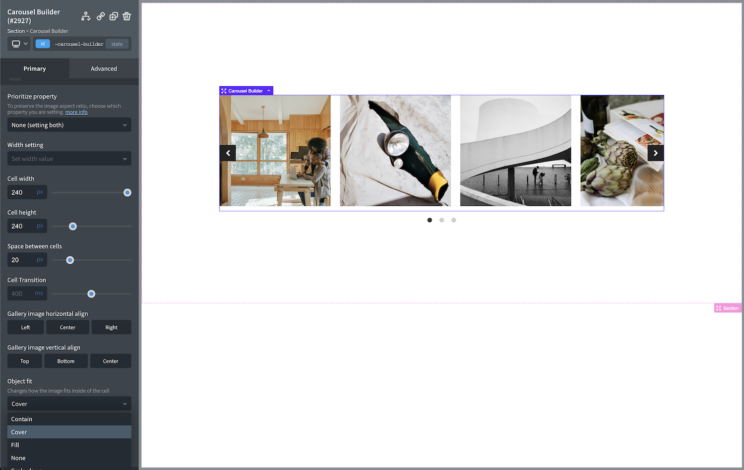
Here we’re setting both the width and the height as 240px to create a square, and then to avoid the image stretching we’re setting the object-fit property to ‘cover’. It will then make the images act more like background images and cover the square.
